
Does it feel like you are in a constant state of clutter? If you find that you are overwhelmed with the amount of stuff in your home, it may be time to consider working with a Professional Home Organizer. Professional organizing is a service provided by individuals who use their talents and skills to transform clutter into organized, useful spaces for your home and your family.

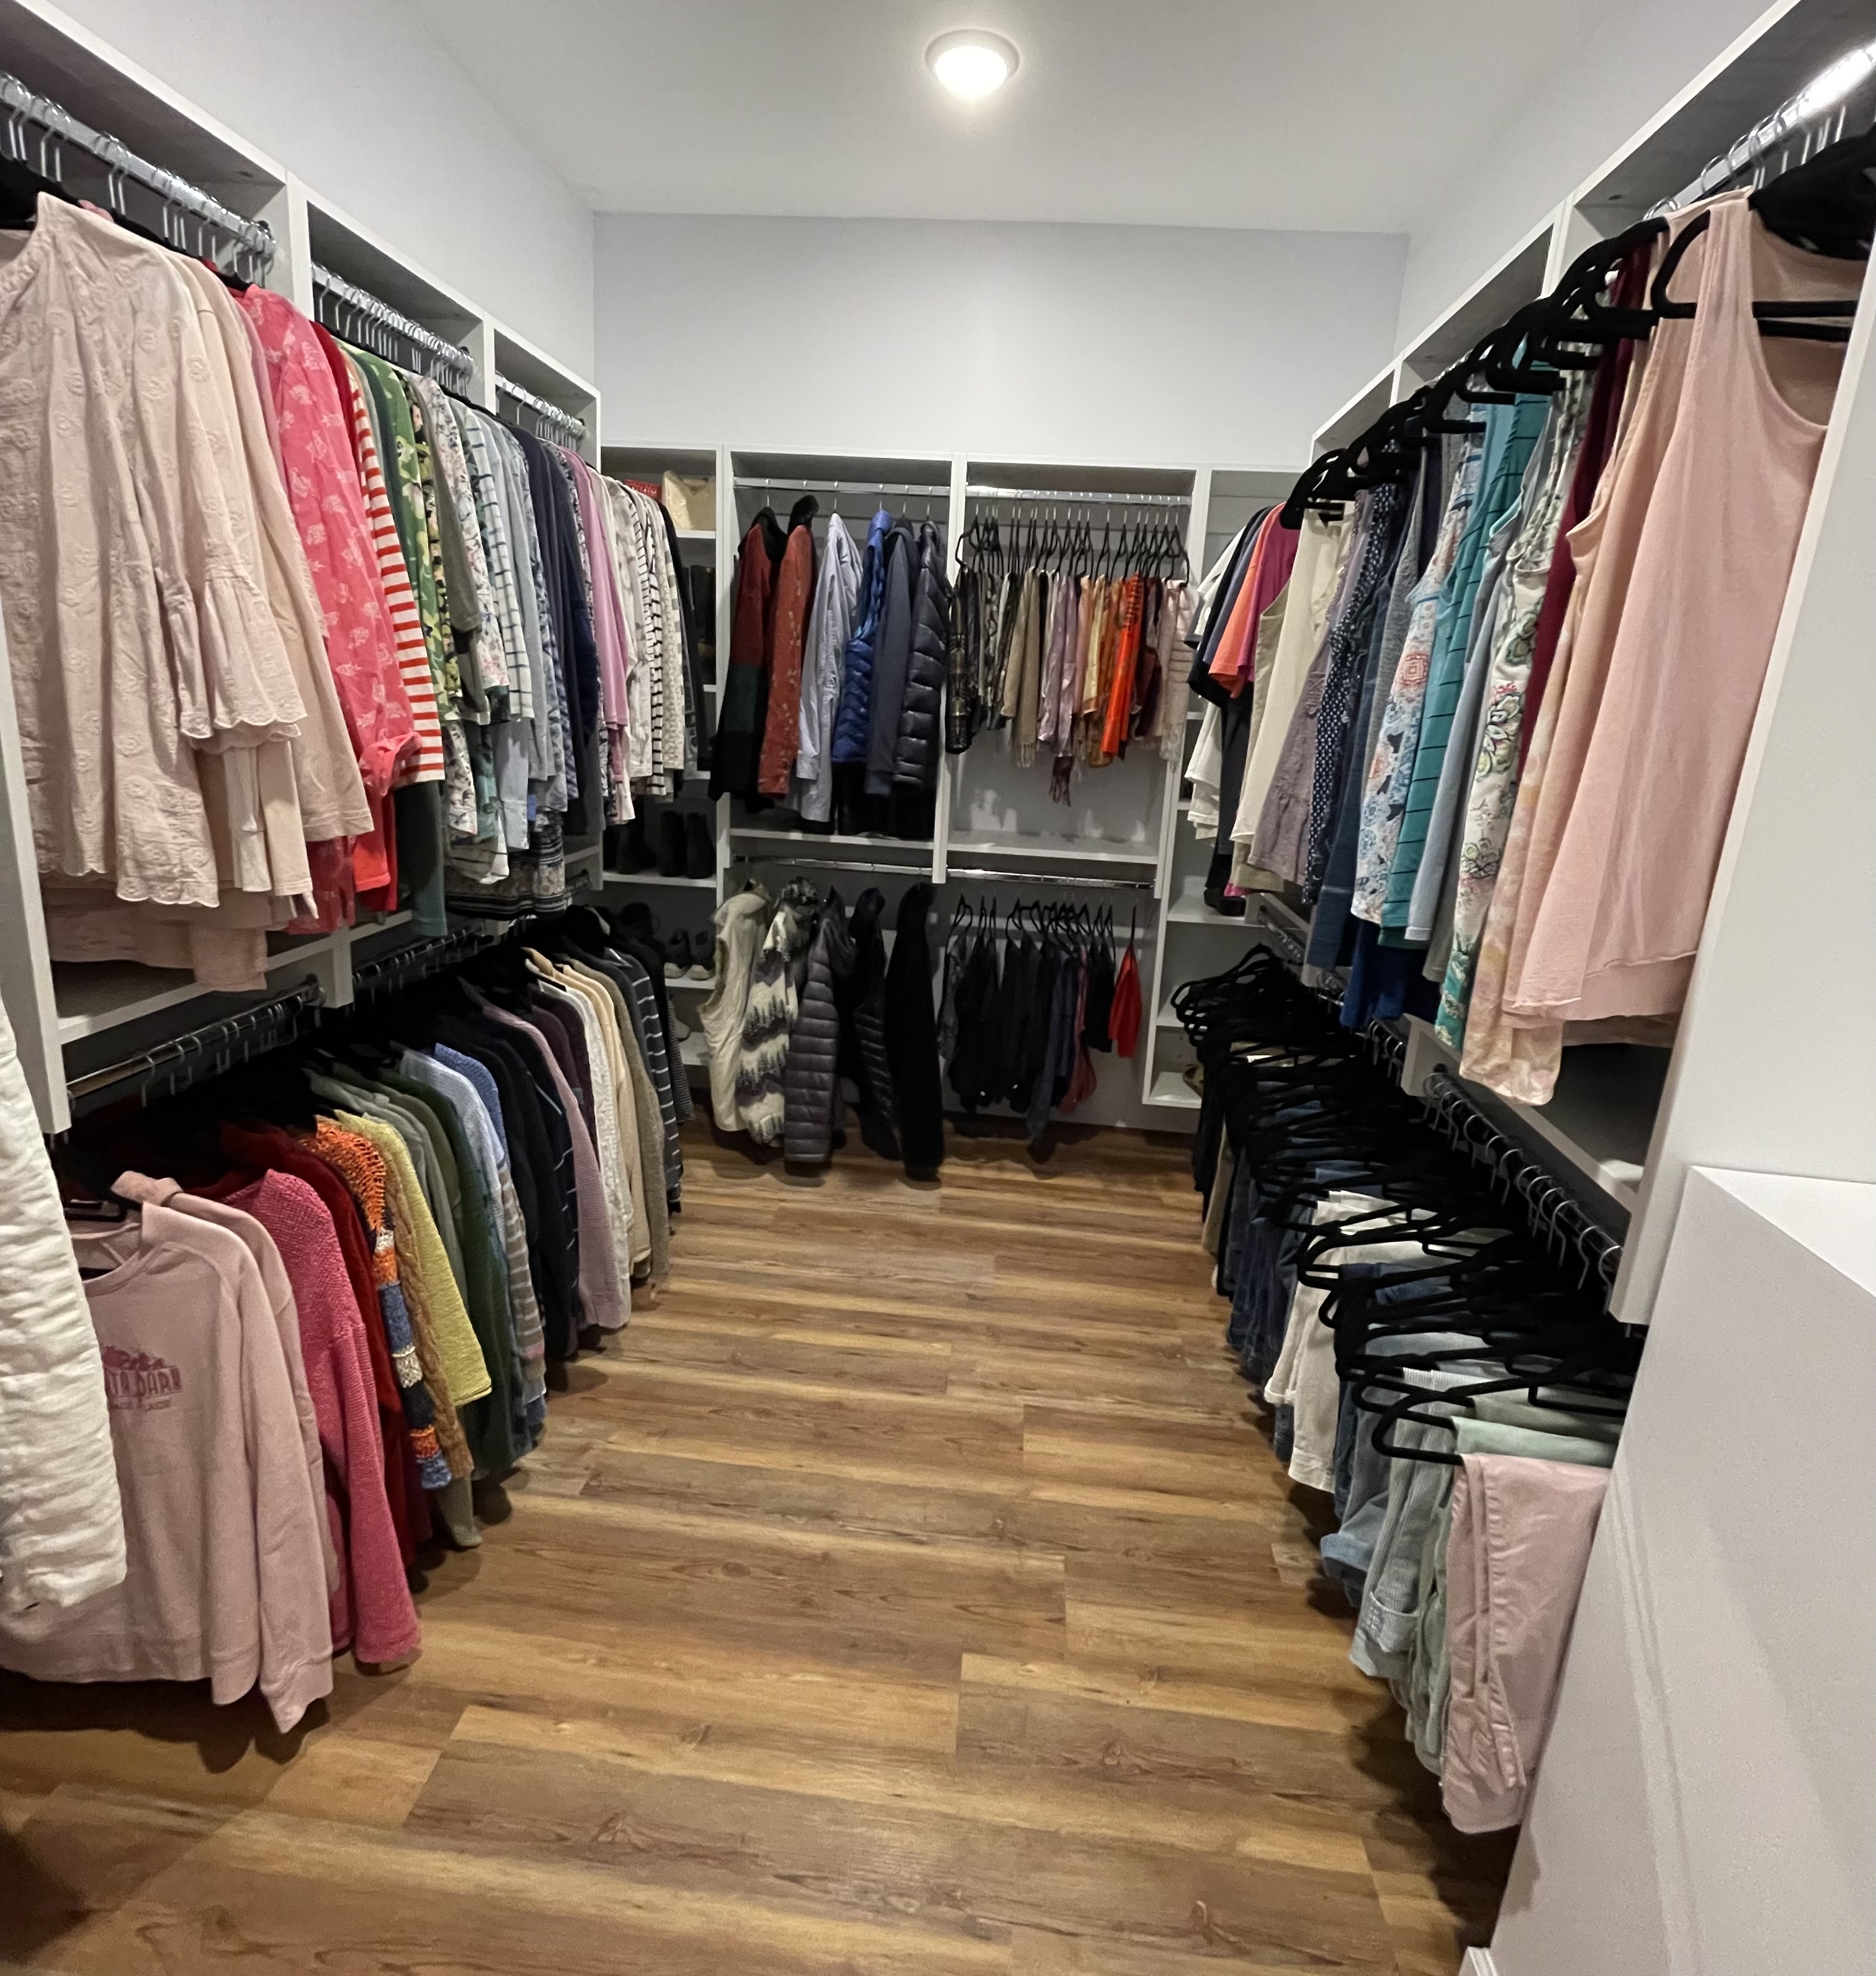
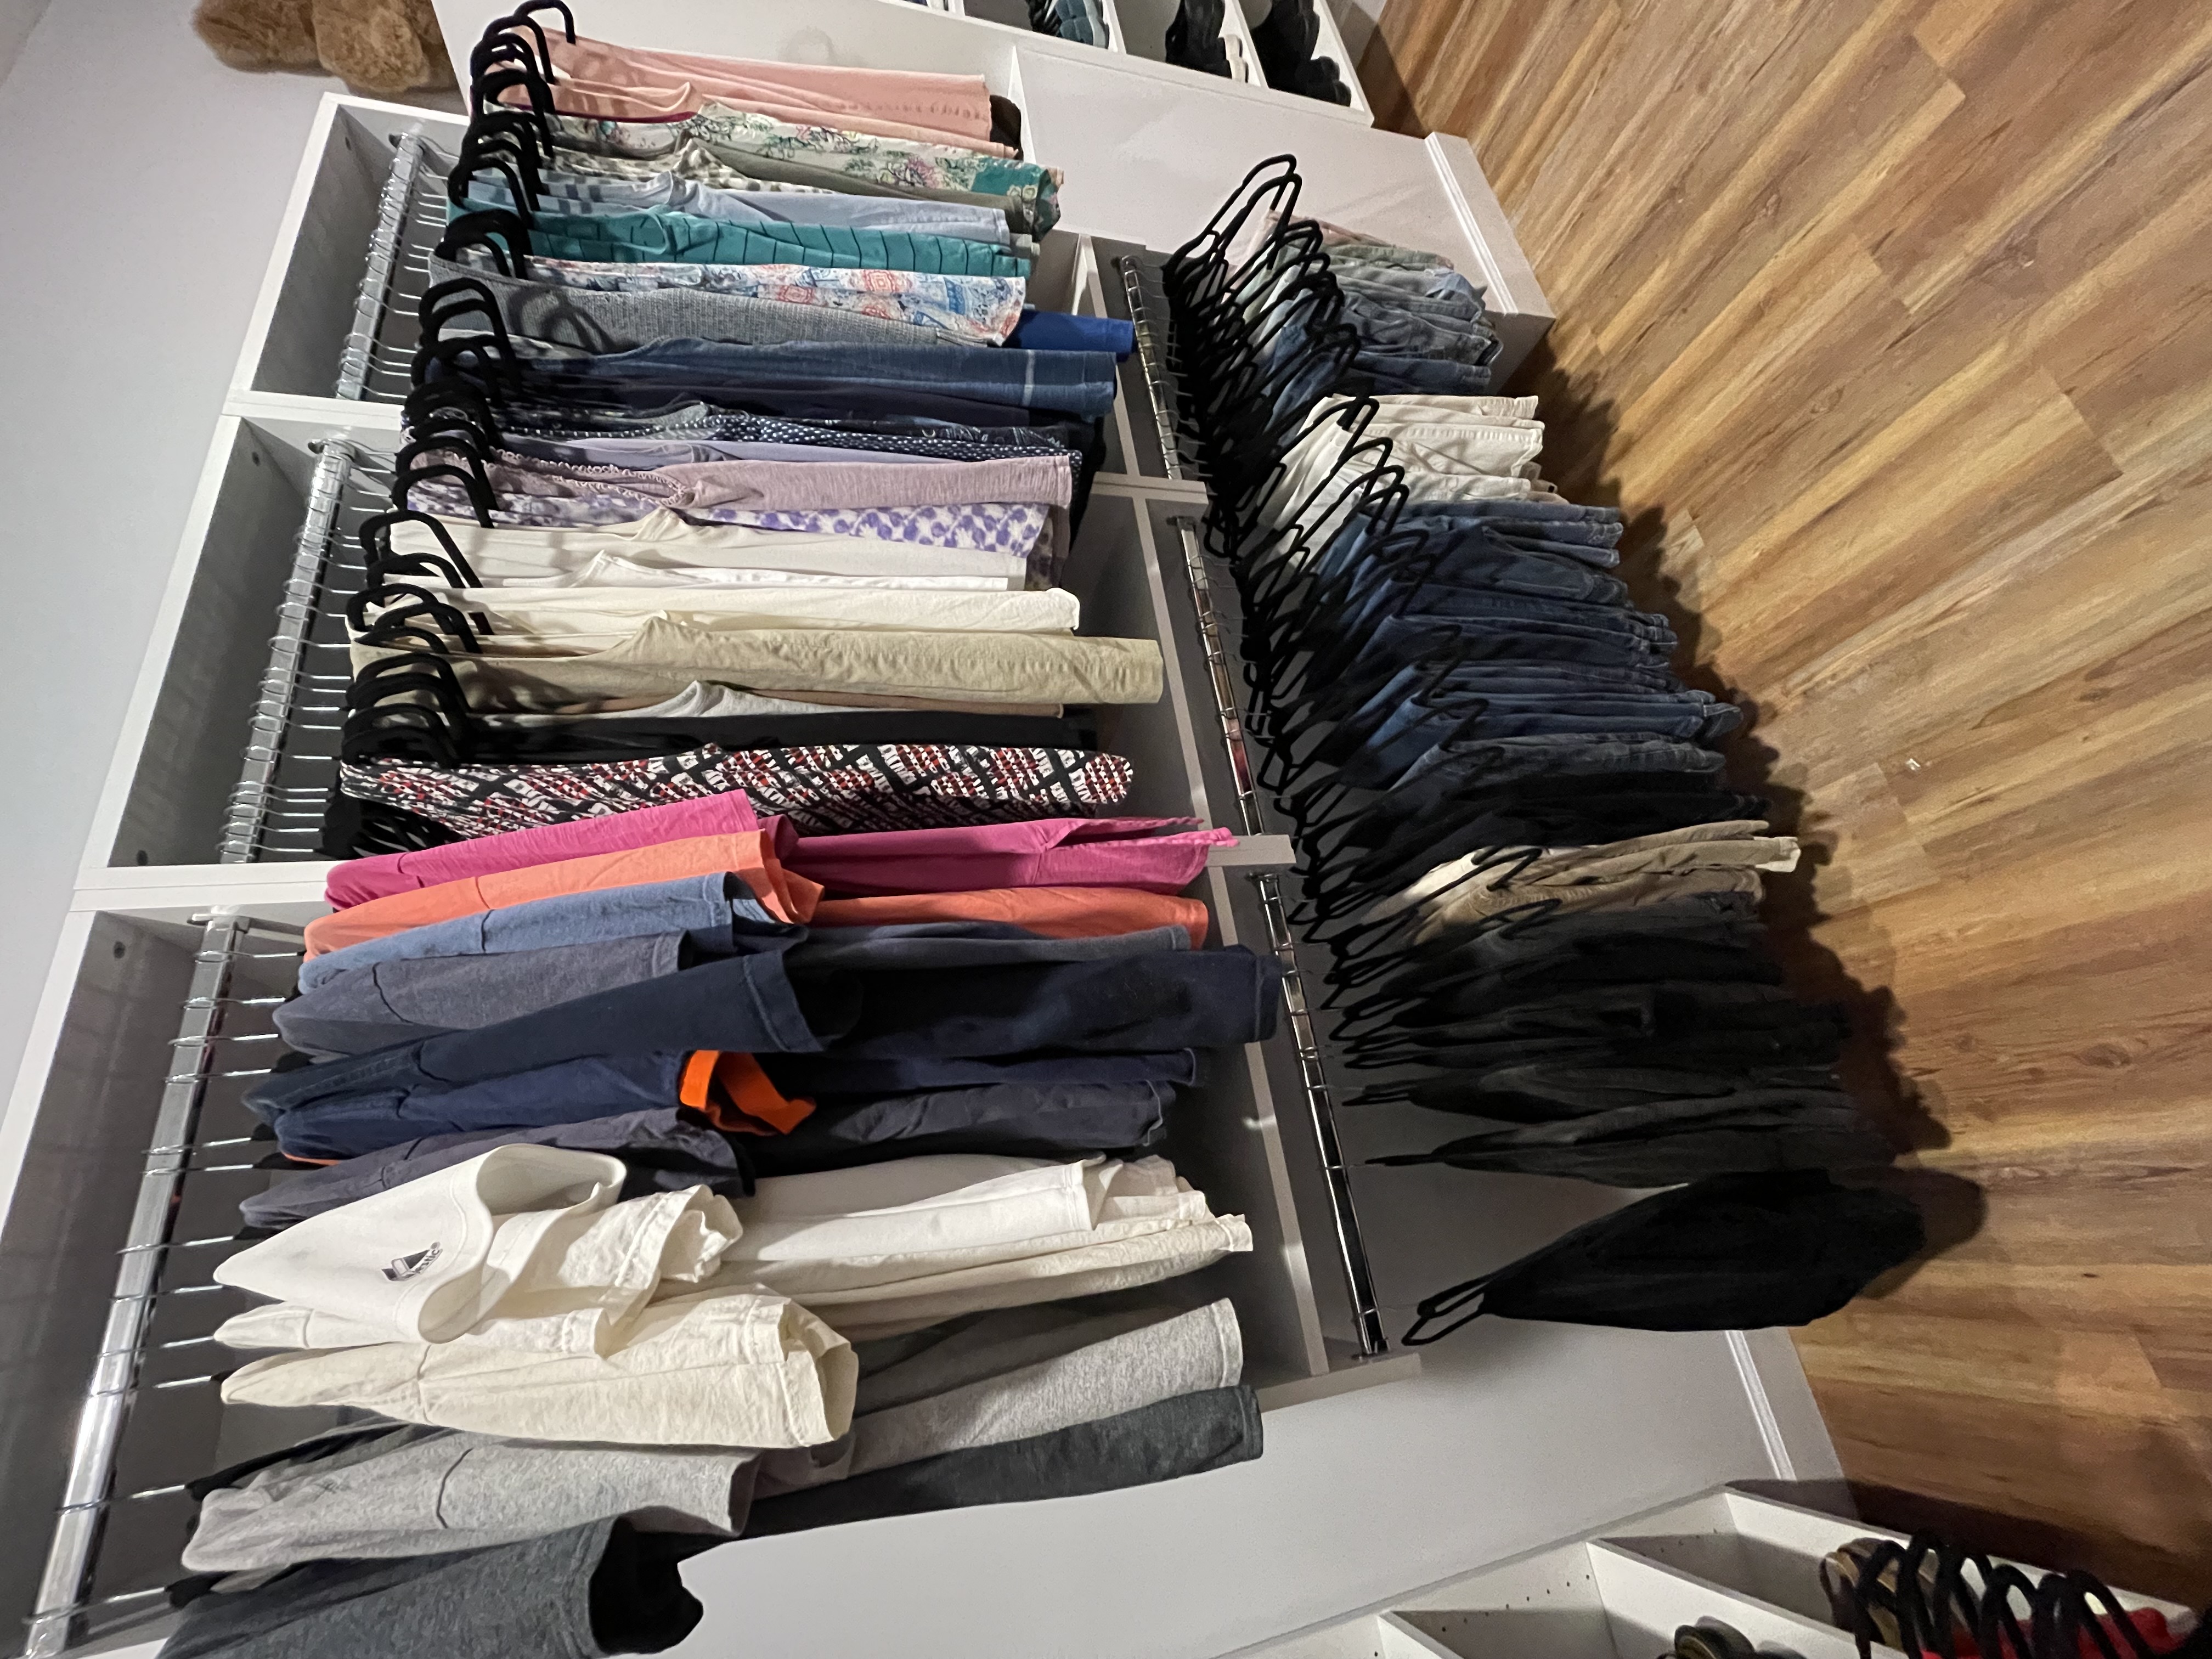
A professional organizer can assist you with tackling the job of decluttering and organizing the spaces in their home. They are skilled at optimizing your spaces and creating more functionality in places like your closets and pantries. They can assist you with sorting through all your “stuff” like clothing, toys, collections and everything in between. The end result is a tidy, organized and functional space you may not even recognize was hiding under all that mess.

Five Benefits of Working With a Professional Organizer
- Professional organizers have the expertise and experience to efficiently declutter and organize your spaces. They can implement effective organizing techniques and storage solutions. Additionally, their approach is tailored to your specific needs and preferences.
- A professional organizer brings an objective perspective to the process. They have no emotional or sentimental attachment to your things. This allows them to guide you in making decisions on what to keep and what to let go of. This can be a tough process made easier with the help of a professional.
- Working with a professional organizer can be a big time saver for you. While it may seem feasible to tackle organizing projects on your own, the process can be time-consuming and overwhelming. A professional organizer can streamline the process as they know how to prioritize tasks and work efficiently to help you achieve your goals.
- Working with a professional organizer will provide you with accountability and motivation to keep focused through the process of decluttering and organizing. They will offer guidance and encouragement to help keep you on track, and ensure that you achieve your organizing goals.
- The long term benefits of working with a professional organizer can be very impactful. Your organizer will optimize your space, maximize storage and create systems that are easy to maintain in the long run. Once the work is complete and your space is decluttered and organized, you’ll likely experience increased productivity and overall well-being.
– Pro-Tip from Organized Jill –
When searching for a home organizer, check to see if they are professionally trained or certified. Jill Moore, owner of Organized Jill Professional Home Organization in Winston-Salem, advises that training and education is advisable for this industry.
A professional organizer will be well worth the investment, both for your home and you. You will likely find that you can breathe easier in your organized, efficient and stress free environment. You deserve to enjoy the time you spend in your home!
If you need help with your decluttering journey, we’re here to help! Are you local to Winston-Salem, North Carolina and surrounding areas? Contact Organized Jill for a complimentary consultation.